Table of Contents
Sony CMT-AH10
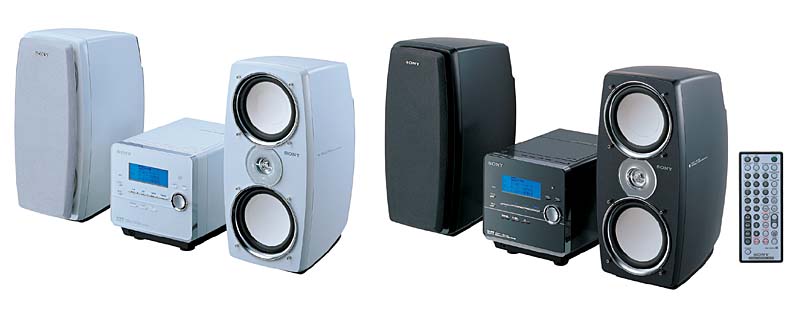
| Name | CMT-AH10 |
|---|---|
| Manufacturer | Sony |
| Released | 2005/05 |
| Device type | bookshelf |
| Recorder | Recorder |
| MDLP | Yes |
| NetMD | Yes |
| Hi-MD | Yes |
| Radio | Yes - 76-90Mhz |
| Dimensions | 424 x 302 x 208mm |
| Weight | 9.0kg |
| ATRAC ver | Hi-MD |
| Battery | |
| Battery notes | |
| Sidecar (depr) | No |
| Voltage | 100 |
| Power cable | AC |
| Price (launch) | |
| ¥53 000 | |
| - | |
| Inputs | RCA in, CD, Radio recording, Tape deck |
| Outputs | 3.5mm headphone, Speaker amplifier, Tape deck, USB for Network Walkman |
| Control | Remote (Sony), USB Mini-B, USB for Network Walkman |
NetMD (std MD and Hi-MD), CD, and AM/FM Radio device.
High speed CD→MD dubbing (Hi-LP=8X, Hi-SP=6X, PCM=4X, std-MD=2X), USB uploading, and can be used as a PC data drive as well.
Used Texas Instruments TMS320DA255 – a high performance, low-power, fixed–point digital signal processor with USB 2.0 host for Sony Net-MD protocol.
Used TMS320D610A003ZDP - for MP3 processing and speaker digital signal processiing:
* Equipped with 5 functions of “Virtual Phone Technology Speakers” that are full of realism
* Equipped with 6 functions of “Digital Linear Phase” that can reproduce sound close to the original sound .
- 5: Digital signal processing is used to create a rear sound field using the front speakers.
- 6: Digital signal processing is used to correct delay time differences caused by sound pressure characteristics, phase characteristics, and speaker unit layout.
Used two DAC : Burr-Brown PCM1753, for CD and MD
Used ADC AKM5354VT for tuner, cassette desk and aux in analog signals.
ATRAC IC: CXD2683
Content adapted from: Sony Press Release [*] av.watch [*]
Manuals
CMT-AH10 User Manual (Japanese original)
CMT-AH10 User Manual (google Cloud Vision translated)
Photos
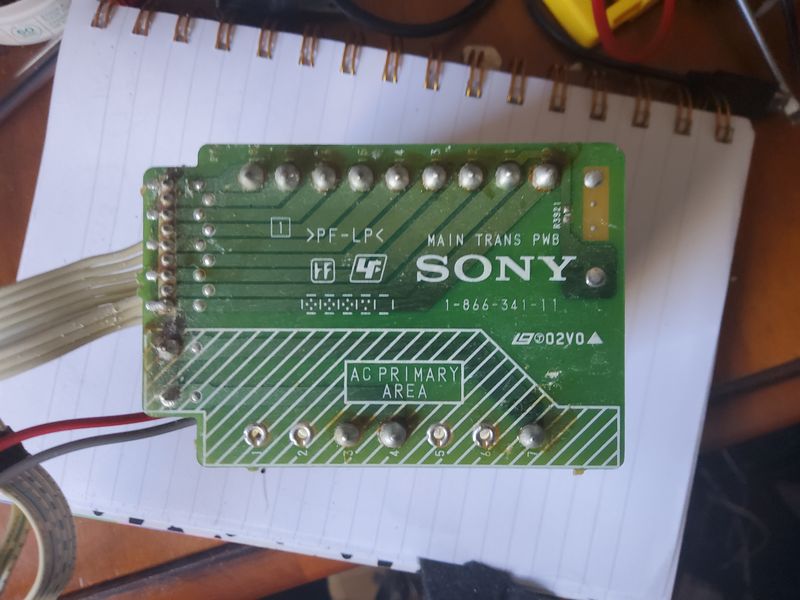
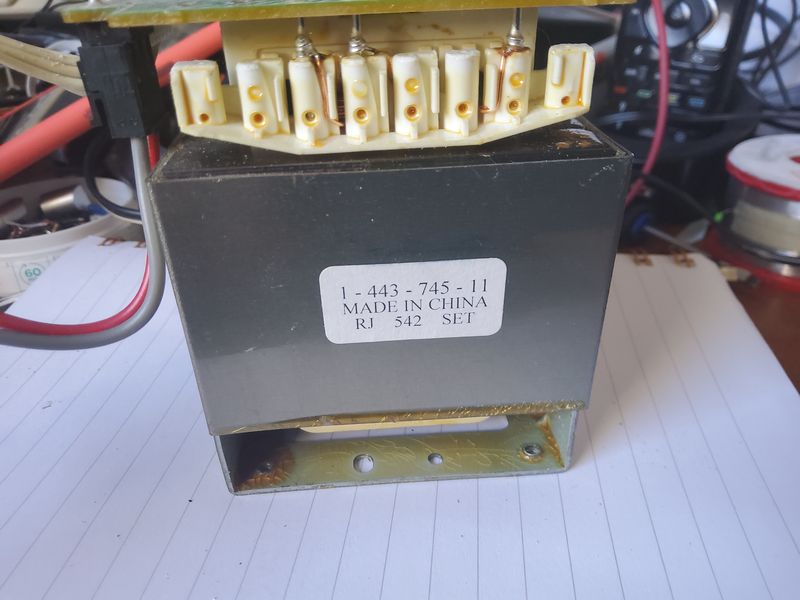
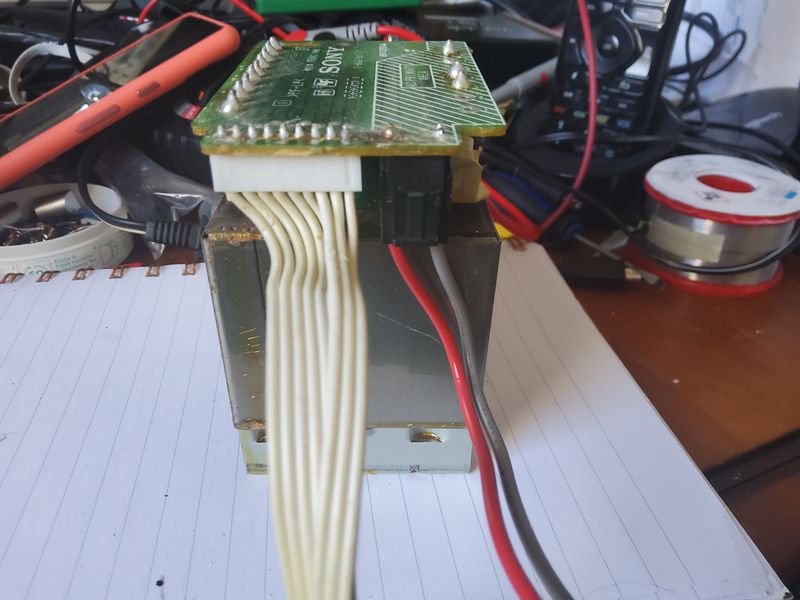
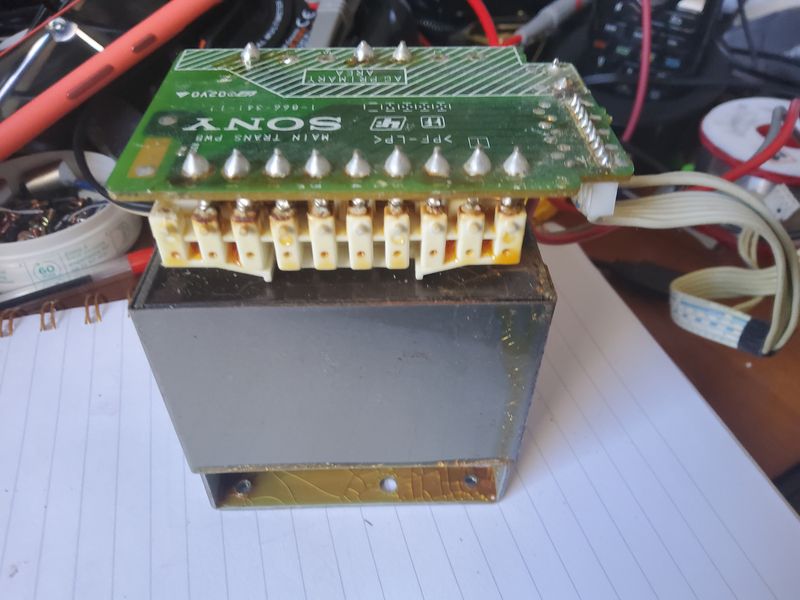
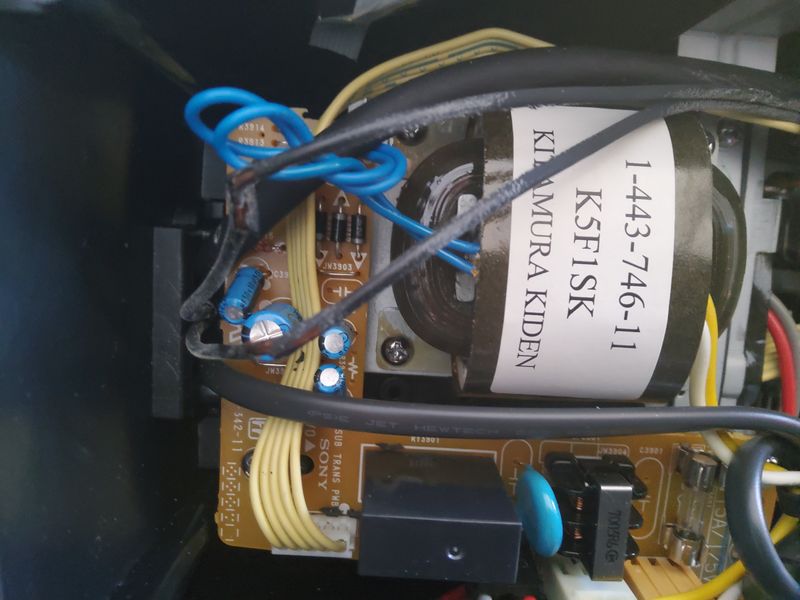
AC transformer voltage, lett to right: 1-2=19.4V 1-3=30.9V 1-4=15.6V 1-5=27.3V 1-6=17.4V 1-7=24.4V 1-8=17.4V 1-9=24.8V
Main connector pinout
Unit audio analog output
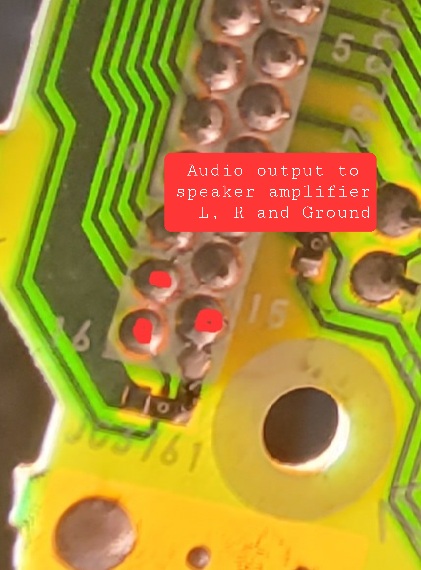
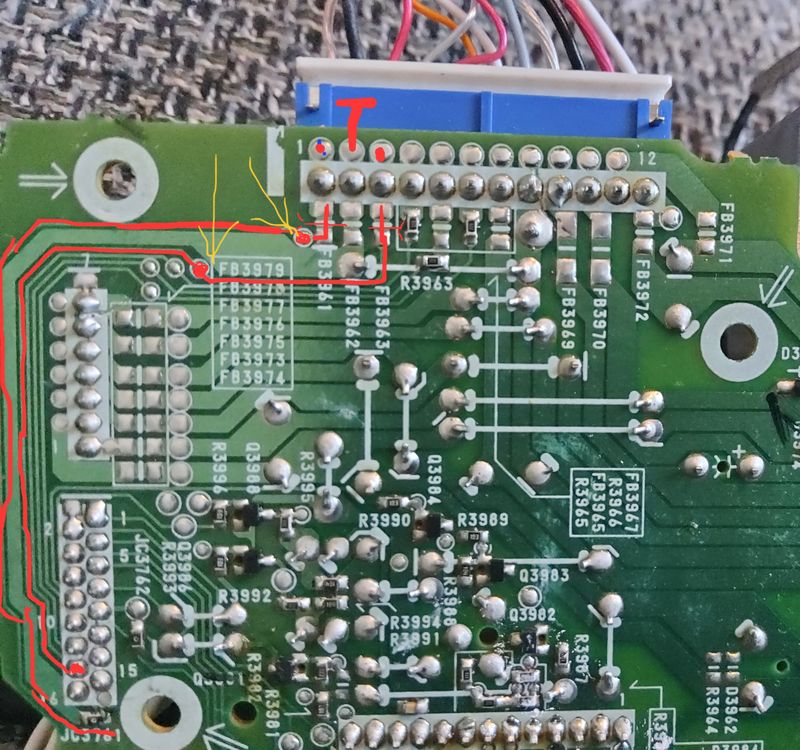
Repair steps
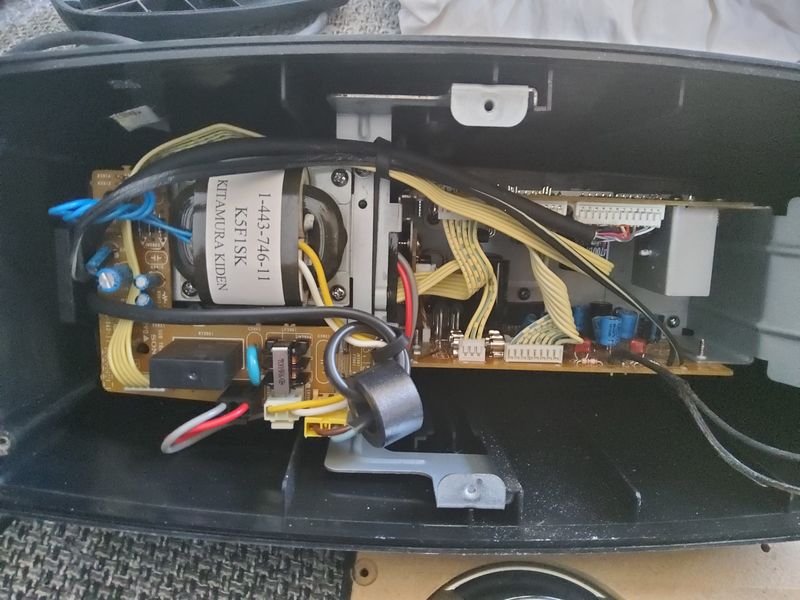
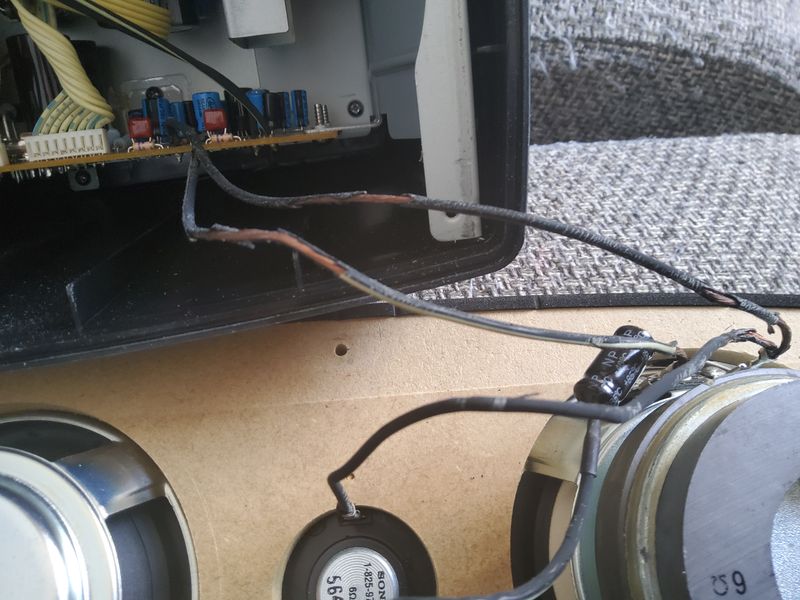
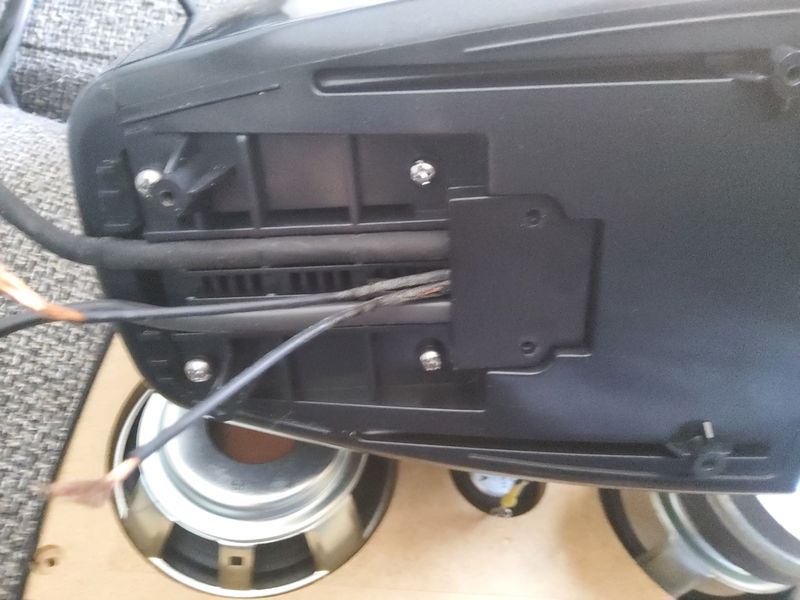
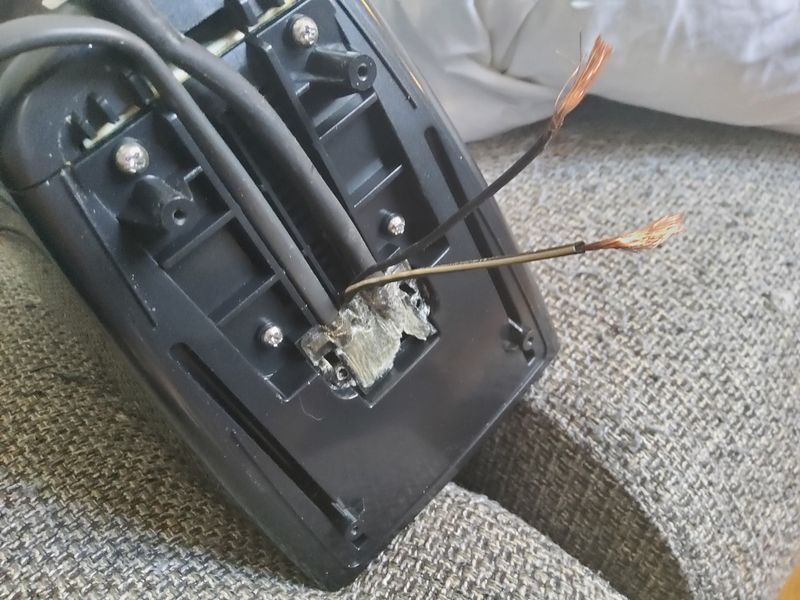
1. Always replace first both twin wires from PCB amplifier board to passive column loudspeaker,
and to the active column loudspeaker.
Have photos or data to add? Edit the page! We do not accept contributions via email..
Some initial observations and testing:
- Motorised faceplate which opens to reveal MD (upper) or CD (lower) motorised loading slots
- Works well with current version of electronWMD (0.3.2 - 1.4.2). Need to set unit to PC Mode first, and as usual have chosen either MD or HiMD mode on the unit.
- Speakers have passive bass radiator which improves frequency response.
- Sounds setting include a 'Phase' setting which gives a striking stereo centre effect. Three settings, but can't disable completely according to the translated manual.
- Backlit display (black characters on purple/blue background) initially had poor contrast but improved a lot after frequent use.
Since unit was only produced for Japan, on startup the menus are all in Japanese. There is an 'English' setting which can be selected in the device menu, but the translated manual doesn't preserve the table structure so it's difficult to navigate to the right place. However, you can use the the following control sequence on the unit:
- Use the controls on the right hand side of the faceplate: 'Cancel', 'Enter', and the rotating wheel below.
- First, long-press the 'Enter' button to get into the menu
- Rotate the selection wheel clockwise seven clicks until the last option is showing and flashing (='Option')
- Press 'Enter' once
- Rotate wheel clockwise four clicks to move to the fifth item in this submenu (='Language')
- Press 'Enter' once
- Of the two options here, move up to the one that isn't flashing (first one = 'English')
- Press 'Enter' once
- The language should now be changed to English.
There may be an internal battery which holds the language and other settings, but on this unit they are all lost on mains power cycling. They are retained through the on/off switch on the unit though, if still connected to mains.